Nest roof tent quick start guideUpdated 5 months ago
Unboxing
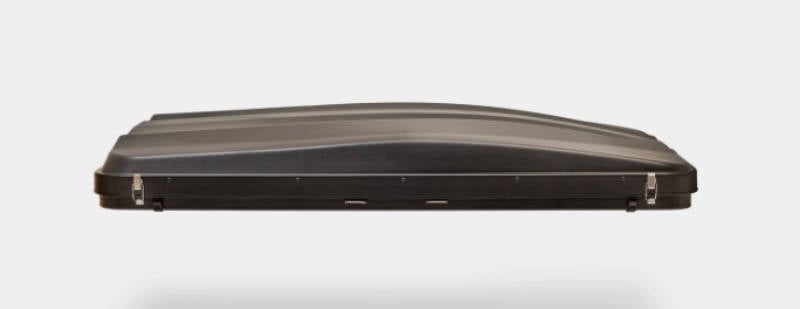
You are now the proud owner of an Alpkit roof box. You have bought or double-checked your roofbars and are confident that they are suitable for attaching the roof box.
Attaching the roof box is a simple process, but you need to take care and follow these instructions. We include the tools you need, but we suggest having these extras.
- Small stepladder - saves having to tighten bolts at full stretch.
- Small towel - stops the top of your vehicle from scratching when you drop a spanner.
- Friends or Family - if you can find 3 or 4 helpers for 15 minutes, it makes it a very simple, easy job.
Our supplier checks each roof tent, but during transit, small metal shards can be dislodged from the hinges and rails. Check when you first unpack and hoover up or brush out.
Assembly
The hard part
Place the box on your roof rack rails, with the narrow end towards the front of the vehicle.
Ideally, you need four people at each corner to lift it onto your rails.
Position the roof box on the bars, stand at the front of the vehicle and line up the middle of the roof box with the middle line of the car, then stand at the side of the vehicle and position the centre of the box central to the roof bars, not the vehicle.
The fiddly part
Getting the fixing plates in the right place to line up with the roof rack.
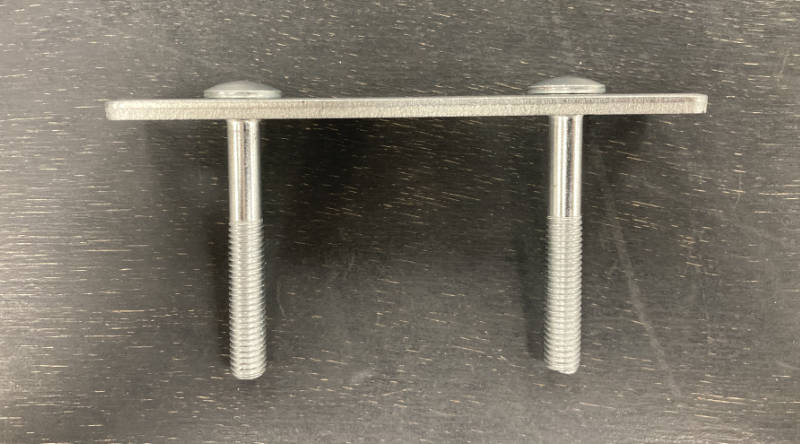
Grab one of the plates and two of the bolts. Place the bolts in the square holes, selecting the narrowest gap possible to suit your roof bars.
Slide this in the roof box rail so that it lines up with one of the bars. You’ll need to lift the rooftent from the bar, and an extra pair of hands is handy here.
Repeat this for each fixing point.
You should have four fixing points with two bolts on either side of the roof bars.
The critical part
You're about to attach a really heavy box to the top of your car using eight bolts. Pay attention.
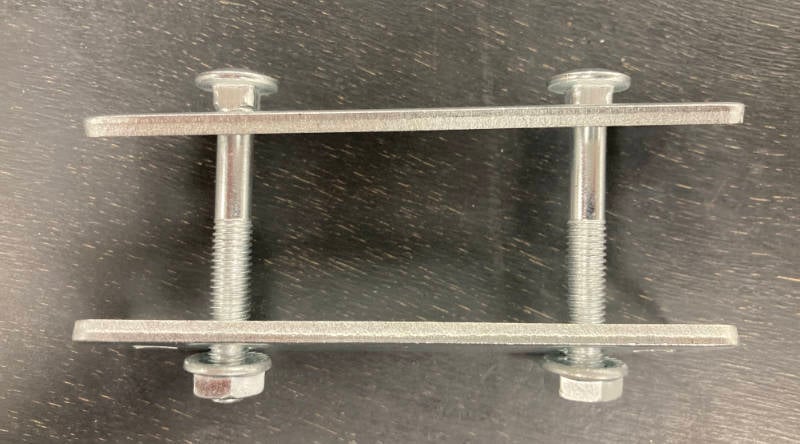
At each fixing point, you’ll need to place a plate under the roof bars and fix them using the bolts.
If you tighten the bolts sufficiently, you will see the two flat bars flex slightly. Make sure all four attachment points have been secured and tested. Once attached, you should not be able to push the roof tent from side to side or back and forth.
It’s important to double-check every use and take the spanner with you on every trip. If you leave the tent on the roof for a long time, you may decide to use Loctite on the bolts.
The fun part
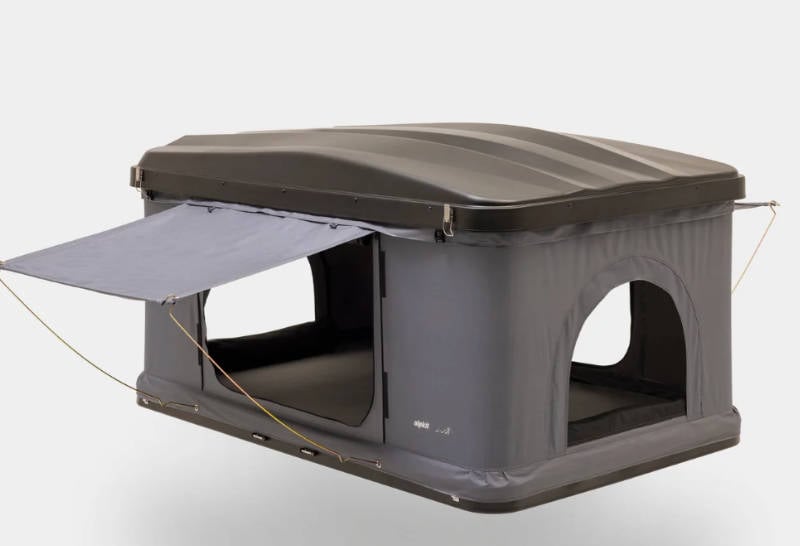
We are getting close. The party trick of the Nest is that it goes from an oversized roof box to a bedroom in seconds.
It has four catches and four straps. First, undo the straps, then the clips. There is a little button on the side to release them.
Once these are all clear, it's time to gently pop up the top cover. We find it slightly easier to pop up one side than the other, but it’s whatever works for you.
After it’s popped, it’s ready to go unless you want to open up and lift the doors.
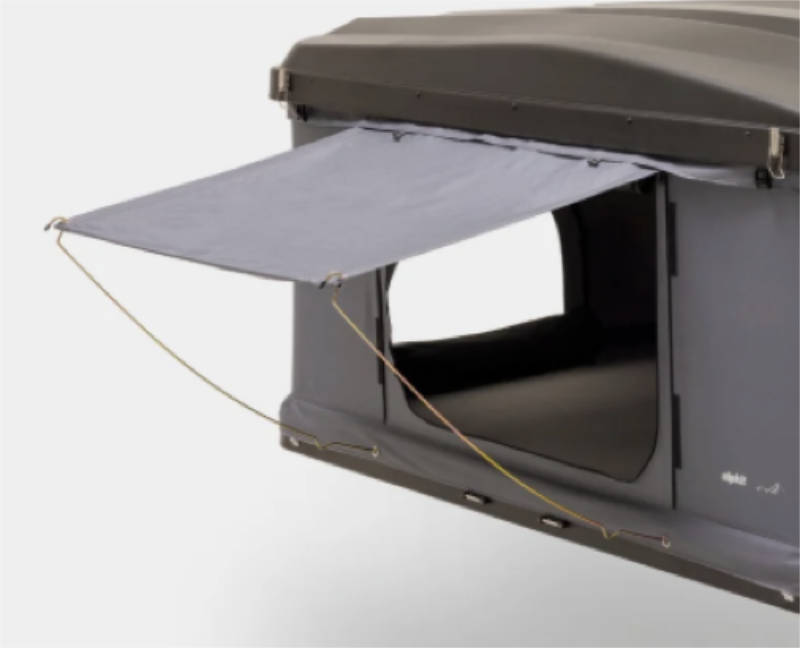
You’ll have four pieces of wire, and everyone will ask you what they are for. These hold out the doors. You’ll find two holes in the sides, and these line up with eyelets on the doors.
The sad part - Packing up time to go home
This should feel familiar as it’s mostly the reverse of your actions.
Please remove the door and window wires and put them in the bag. Decide if it’s bone dry or not; if it is pack away with confidence, if it isn’t dry it out when you're home.
Unhook the ladder, and if it’s clean and dry, place it inside, if not in your boot. Remember that you can leave all your bedding and pillows in the box.
Grab the long handles. We know you’ve been wondering why they're so long. Now you know. This bit can be a little tricky.
Pull down on the straps and tuck in any spare fabric so the shell can close. Then, close all the clips and fasten all four straps. Do not take shortcuts; the last thing you want is for it to pop up on the motorway.
That’s it. You're ready to roll.
Care and Storage
As you can imagine, getting your roof box in the washing machine is going to be quite a challenge This isn’t your average outdoor kit. This will probably be the most expensive shelter you’ve ever bought apart from your house.
Take the most care when setting up, keeping the inside clean, and packing away.
Don’t force anything. Most items break when they are forced rather than in normal use. The Nest should pop up with gentle persuasion rather than brute force. If you have any problems, give us a call.
In trying to keep the inside clean, we suggest that prevention is better than cure. We would suggest you ban muddy boots and soaking rain gear as much as possible. Late-night munchies will also cause a mess, but that's part of the fun.
Packing away and storage: It is important to make sure that all fabric, inner, outer, and mattress are bone dry. The quickest way to ruin a roof tent is to pack it away wet and let it go mouldy. It will never go mouldy in any other way, and this is not covered by warranty.
You will require somewhere dry for storage; we would expect most to be stored in a garage.
Warning
Your new roof tent is heavy. Please be careful when unpacking, lifting and carrying.
Roofbars should be bought from a reputable retailer or manufacturer and comply with the safety standards for roof racks and your vehicle.
The choice of roof bars is important as they must cope with the static weight when two people are sleeping in them and the dynamic weight that the roof tent creates when coming to a stop.
Please check all attachment points to the roof rack and ensure that you are satisfied that the roof box is attached securely before every trip.
Never drive faster than the speed limit, as your roof box will affect your vehicle's handling and braking distances.
Once attached, your vehicle will be higher. Height barriers or low branches need to be approached with care. We suggest measuring so you know how high your vehicle is. Side winds may also affect your vehicle handling.
Once pitched

Due to the single skin of the roof tent, condensation cannot be eliminated. Moist air will always condense on a cool surface and cannot change physics. Good ventilation will help; where possible, leave vents open to allow good airflow.
In high wind, it may not be suitable to use; winds over 30 mph rush damage to your roof tent.